Ingeniux – Maroon Text
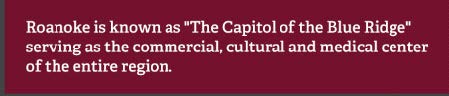
The Maroon Text module is a WYSIWYG content block with a maroon background.
The WYSIWYG editor will support adding links and changing font size.

Previously we have edited pages with Form View. For Components you will need to access Design view to add, delete and reorder them. Check the page out and click on Design View This will load a visual view of your page, similar to Preview. After your main on-page content, you will see the Page Builder…
From the “Site” Tab Use the Tree Icon to Open the Site Tree Navigate to where you want the new page. For Example – Ingeniux CMS ➔ Site ➔ Home ➔ Inside ➔ Academic Grants ➔ External Funding Right Click and Select “New Component” Under “Name” type the name of your new page Leave “Select…
Assets can be cropped or resized inside of the Asset Manager. Note: Images can not be more than 2000 pixels wide. The max width of an image on the desktop site is 780 pixels, so images larger than this will need to be resized. You can make bigger images smaller, but not smaller images bigger….
From the “Site” Tab Use the Tree Icon to Open the Site Tree Navigate to where you want the new page. For Example – Ingeniux CMS ➔ Site ➔ Home ➔ Inside ➔ Academic Grants ➔ External Funding Right Click and Select “New Page” Under “Name” type the name of your new page Leave “Select…
Add a component is as simple and dragging and dropping it on the page. You can choose any of the components listed in the training. Note: Some older pages might not have the drag target set, in this case, create one: Select the Page Builder section Add a Content Section Click the Checkmark Drag a…
Important: Images are now Assets and must be both Checked In and Marked for Publish before they will appear on your page. Upload the picture – Go to Assets, then Click the Upload icon. Browse to the location where the picture is saved and select it. Then, click Upload. Double click the Images folder Find the…