
Creating Advanced And Saving Student Searches and Lists
Filtering Student Data
Advanced Search lets you create unique cohorts of students based on the layering of search parameters. The search results are used as the foundation for building appointment campaigns or tracking student progress. Queries pull lists of current students that fit the search parameters. Information in the results reflect current student data.
Advanced Search uses different logic statements to build queries. Most search filters create AND statements. As you build a search, the query identifies students that satisfy all the listed requirements.
Step 1: Click on the magnifying glass on the lefthand side of your home screen to open Advanced Search
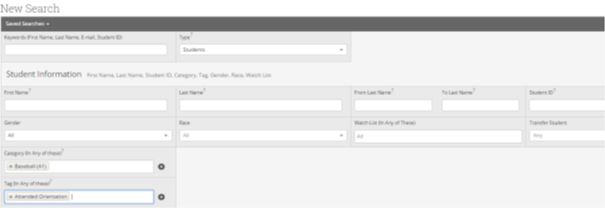
Step 2: Each filter drawer has a collection of filters. They can be used alone or in conjunction with other filters – both within and across drawers – to build your customized search. Some filter fields need you to enter text; others provide options in a menu. There are three more options at the bottom of the search page to further restrict your search.
Advanced Search uses different logic statements to build queries. Most search filters create AND statements. As you build a search, the query identifies students that satisfy all the listed requirements.
Step 3: Select the current term in Enrollment History to yield the most accurate student data results.
Combine elements of other filters to search for students based on areas of study, including college affiliation, degree, concentration, and/or major.
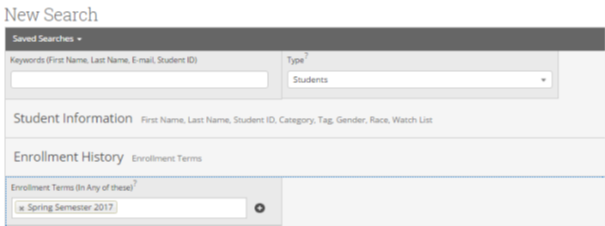
NOTE: While Advanced Search does not display historical data for students in the resulting list, you can create parameters based on historical conditions.
Building Dynamic and Static Student Caseloads
Step 4: Once you have selected your specified search fields, click Search. The results display the current information for the students that fit the parameters of your search, which are displayed across the top.
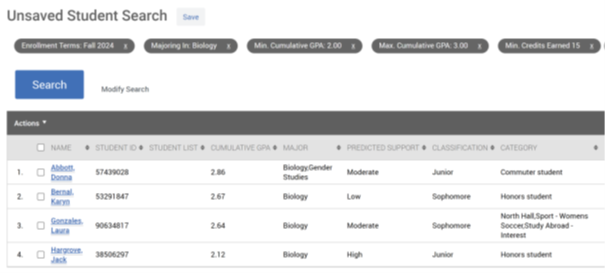
Step 5: From here, you can take a variety of actions:
•Perform a task via the Actions menu with one, several, or all the students on this list, such as sending a Message, adding to an Appointment Campaign, or creating a Student List. You must select ‘All Students’ if there are more than 100 results in your search.
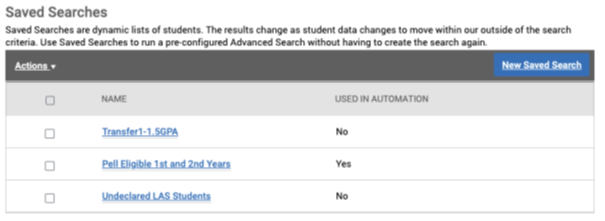
•Create a Saved Search by clicking the Save button next to the Unsaved Student Search title. You can also access previous saved searches from this page.
•Saved searches lets users run a pre-configured Advanced Search without having to create the search again. Unlike Student Lists, which save a static list of the same students, a saved search dynamically regenerates a list of students or users based on the search criteria. This feature can be especially helpful for users who frequently run the same search at different points in the term, as it allows you to maintain consistency with your search parameters
•Modify the search. If you want to add to the original parameters selected, you can select Modify Search to return to the filter drawer view. You can also remove an existing parameter by clicking on the X icon to the right of each of your filter selections.
NOTE: Because some tools in the platform display all Student Lists in filters, please use a standard naming convention for your Student Lists that explains the purpose of the list (e.g., F23 Senior His Maj, F24 Transfer 1st Gen). Talk to your Application Administrator if you have questions about the naming conventions for Student Lists at your institution.