Create a Progress Report or Issue an Alert
Submitting a Progress Report
Navigate360’s Progress Report feature is used by faculty to share critical academic information on students enrolled
in their courses. Use the instructions below to submit a Progress Report and mobilize support for a student.
Step 1: Access the Progress Reports either directly from the request email or by logging in to the
Navigate360 platform and toggling to the Professor home page.
Step 2: Click “Fill out Progress Report” from email or home page.
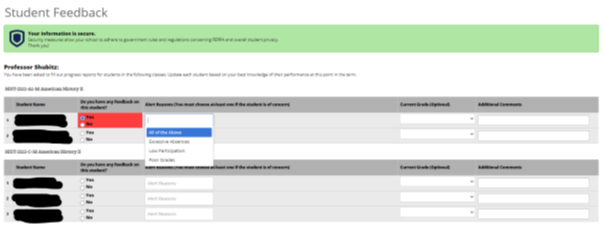
Step 3: In the feedback screen, you will see a list of course sections and students that feedback is being
requested for. This may or may not include all the students enrolled in your courses this semester. Begin
filling out feedback according to the instructions provided in the Progress Report request email.
Step 4: If you have feedback about a student, select “Yes” and choose an “Alert Reason” that indicates
why you are submitting feedback on this student. You may choose more than one alert reason. Please fill
out the remaining columns, including the comments section with additional detail that will help an advisor
follow up with this student.
Step 5: When submitting your Progress Reports, you have the option to submit only the students you
have filled out feedback for or to submit all students. If you choose to submit all students, the students
who you have not filled out feedback for will be marked as “I do not have feedback about this student.”
TIP: Use the glossary of Alert Reasons on the next page to understand what follow up action will be
associated with each Alert Reason.
Submitting an Ad-Hoc Alert
Navigate360’s ad hoc alerts are used by faculty and staff to share critical information and to create referrals for
student between support offices. Use the instructions below to submit an early alert and mobilize support for a
student.
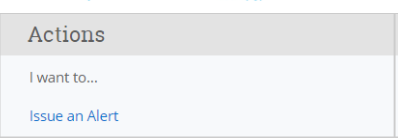
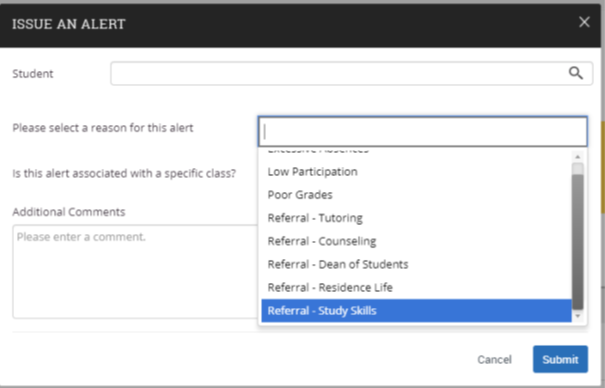
Step 1: Click the “Issue an Alert” link in the upper right-hand
corner of your home page.
Step 2: Search for the student for whom you’d like to issue an
alert (using name or ID).
Step 3: Select the reason(s) you believe the student needs
assistance. The reason(s) you choose will connect the student
with the appropriate office. See more details
on the specific alert reasons below.
Step 4: If the alert is associated with a particular class, fill out
that field.
Step 5: Lastly, please provide any relevant context around
your reason for submitting the alert in the comments section.
Comments will help the team reviewing alerts to connect the
student with the right resources in a timely fashion. Step 6: Issuing an alert may open a case. You will receive an
email notification when the case has been resolved.
TIP: Use the glossary of Alert Reasons
on the next page to understand what
follow up action will be associated with
each Alert Reason.